Getting Started#
This section allows the user to:
Become familiar with the Muon Analysis GUI.
Download the data needed to complete this course.
Set file data locations.
This tutorial focuses on the reduction and analysis of Muon data collected from any of the ISIS muon instruments via a Graphical User Interface (GUI). This interface has been specifically designed to guide the user through the data reduction and analysis procedure
The worked examples presented in this tutorial will be analysed using said GUI.
Launch the main Mantid interface by clicking on the MantidWorkbench icon on the desktop
To launch the Muon Analysis GUI follow:
Interfaces > Muon > Muon Analysis
on the tool bar at the top of the main MantidWorkbench window.
The window shown below in Figure 1 should appear. A tab-driven approach guides the user through the standard data reduction and analysis procedure. The functionalities contained in the Home, Grouping, Fitting, and Results tabs are each discussed in turn, though note this tutorial does not currently cover the Phase Table tab. Make sure you have downloaded the data used in this manual before commencing with this tutorial - it can be found here
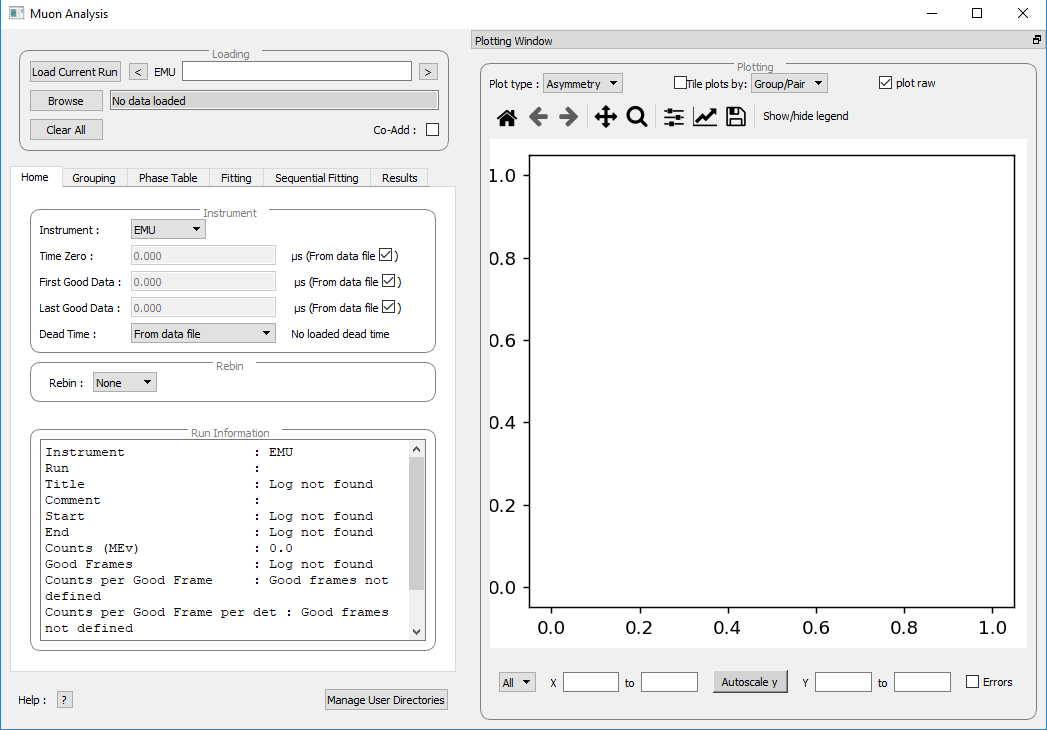
Figure 1: The Muon Analysis interface.#
Setting data file locations#
Before starting it is best to ensure that Mantid is configured for your needs. In particular, adding paths to directories which contain the worked example data will be useful. All the data used in this workbook can be found in the Reference Material folder.
Select the default facility and instrument (this will be an option during installation)
Add paths to directories which contain your data.
Adding paths To set a path, click on Manage User Directories at the bottom of the GUI, or go to File > Manage User Directories in the toolbar. The window shown in Figure 2 will appear. Data can be added as a path by browsing to its location, or typing the directory name in the field below Data Search Directories and then clicking Add Directory. See Figure 3 for the process for how to do this for the Reference Materials folder. Once a path has been added, data stored in that location can be accessed simply by referencing the run number.
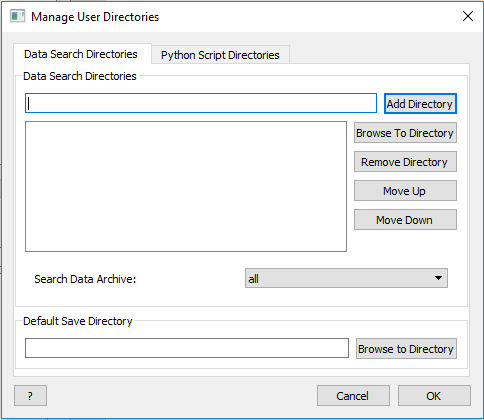
Figure 2: The Manage User Directories window#
Figure 3: How to access the Manage User Directories window and to set up a new path.#