\(\renewcommand\AA{\unicode{x212B}}\)
 go to a Bragg peak and left-click. The
mini-plot should now be showing a plot of counts vs TOF for that
detector.
go to a Bragg peak and left-click. The
mini-plot should now be showing a plot of counts vs TOF for that
detector.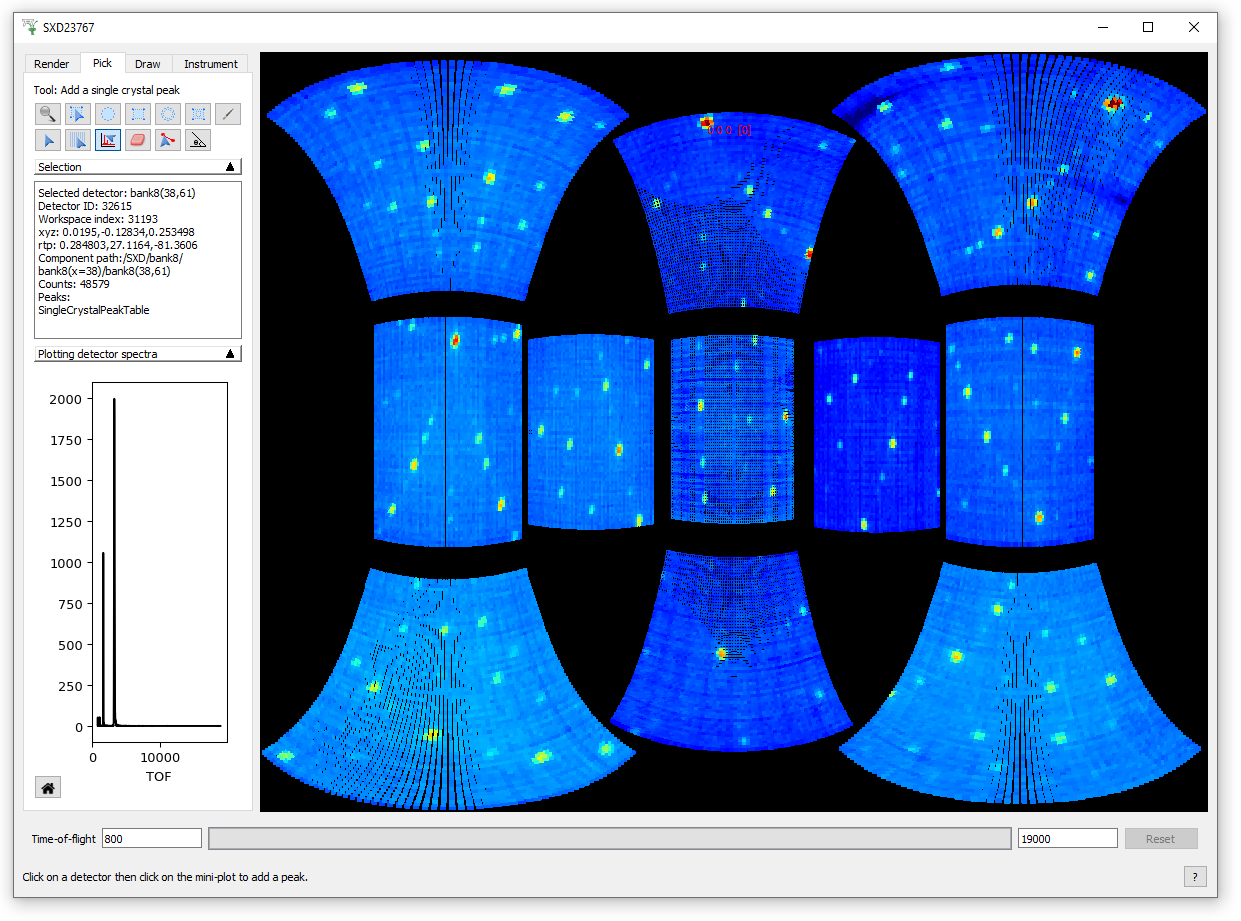
 tool to remove the Peak just added
Here we are going to mask out the beam stop and the edge of the main detector for a small angle dataset.
Load LOQ48097 data set.
Open the Instrument View by right-clicking on the workspace and selecting Show Instrument.
Display Full 3D on Render tab.
Change the Axis view to Z+ (to avoid having a view with the front LOQ detector in front of the main detector)
Make sure that the colour map axis has the SymmetricLog10 scaling.
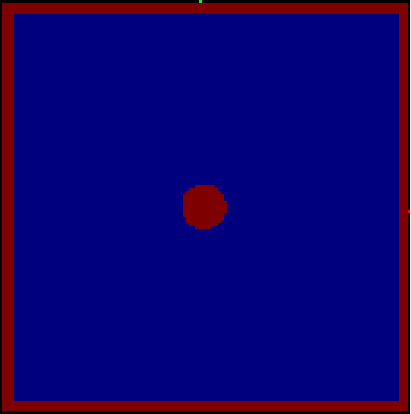
Set the Scale limits to 1 and 2378 (the max is the default). The instrument display should look like this:
Switch to the Draw tab.
Select the ellipse drawing button  .
.
Draw an ellipse in the middle of the panel to cover completely the blue disk there. [Tip: Set the Instrument View window to full screen to make this easier!]
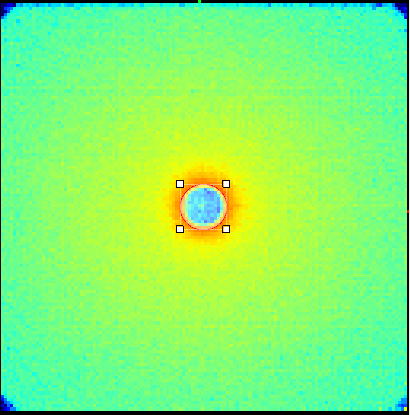
Select the button for drawing a rectangular ring

Draw a ring masking the edge detectors of the panel. Use its control points to adjust it to the right size and thickness.

Click  button.
Click Apply and Save button and select “As Detector Mask to workspace”. A workspace named “MaskWorkspace” is created.
Click  button. The instrument image returns to
the original, all masking is removed.
button. The instrument image returns to
the original, all masking is removed.
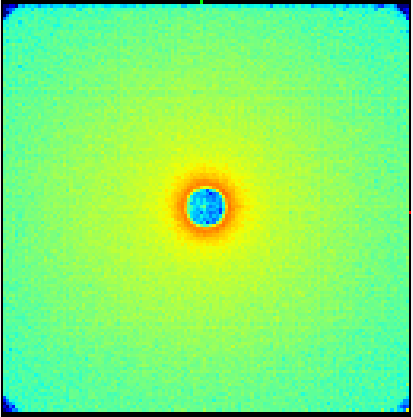
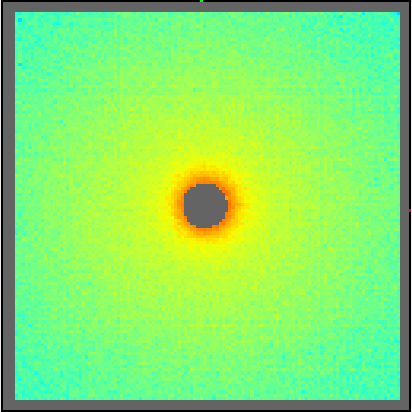
Right-click on “MaskWorkspace” and select Show Instrument.
Change to Full 3D, Z+. The image should look something like this: